What’s below your feet? 10 minutes soil sampling with Neal Dalgliesh – Part 2
By Neal Dalgliesh and Skye Gabb
Neal Dalgliesh is an agricultural research consultant and CSIRO research fellow who has worked on agricultural research projects in Asia, Africa and Australia, specialising in soils and farming systems research
1. How do you soil sample?
I would separate soil sampling into 2 different types, soil characterization and soil monitoring.
Characterization is a one off procedure to determine a soil’s ability to hold water available for crop use, once this is known it is not necessary for it to be done again, unless something changes in the particular soil or another crop is planned to be grown (plant available water capacity (PAWC) varies between crops grown on the same soil type).
Soil monitoring, on the other hand is about understanding the resources (particularly soil and macro-nutrients) available to a crop at a particular point in the season, generally prior to planting, and often after harvest if benchmarking for modelling is required.
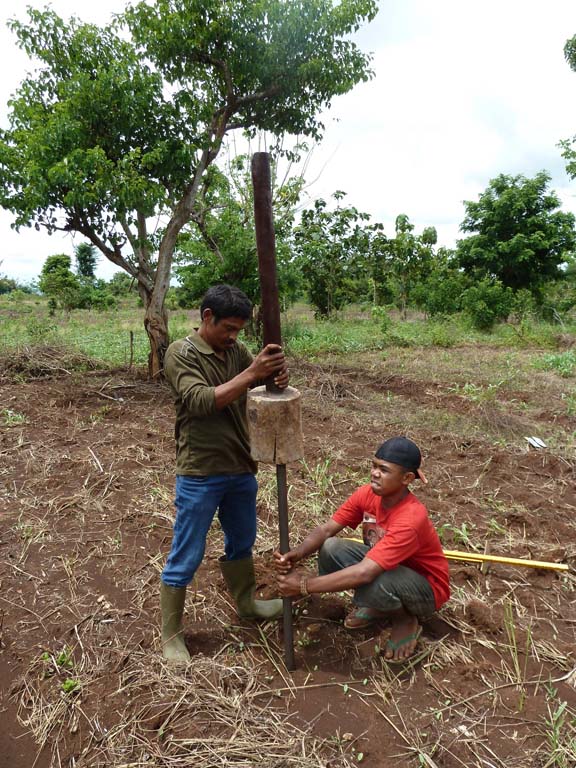
Figure 1. Collecting soil cores banging in a corer with a wooden donger
Soil characterized for PAWC
To fully characterize a soil it is necessary to measure the soils bulk density, its water content (gravimetric) and soil chemistry which may impact on PAWC. Characterisaiton needs to be done to the depth of crop rooting and is either done at set increments down the profile (such as 0-15, 15-30, 30-60 cm etc) or based on the soil horizons identified during sampling.
The best way to characterize a soil is to dig a pit (hole in the ground) to rooting depth but this is expensive and labour intensive. However, a pit does allow you to view the full profile and to better determine the thickness of the various soil horizons-this is important when developing understanding of the impact of soil texture and sub-soil constraints on rooting depth and crop production.
An easier option is to use a soil auguring system (see Burk and Dalgliesh, link below) which still provides good information on soil bulk density, gravimetric water content (and PAWC) and soil chemistry without the need to dig a pit. See link below for estimating plant available water capacity for more detail on the equipment and the recommended procedure (https://grdc.com.au/Resources/Publications/2013/05/Estimating-Plant-Available-Water-Capacity).
Routine monitoring of soil resources
Soil monitoring is generally done using either an auger, or a soil corer. Augers are easy to transport and are less prone to damage from rocks or other soil obstructions. Corers provide samples that are less prone to contamination (from soil falling into the hole) but a large wooden hammer (donger) and a jack need to be transported along with the core tube. While this is generally not an issue when travelling by vehicle, it can be an issue when flying.
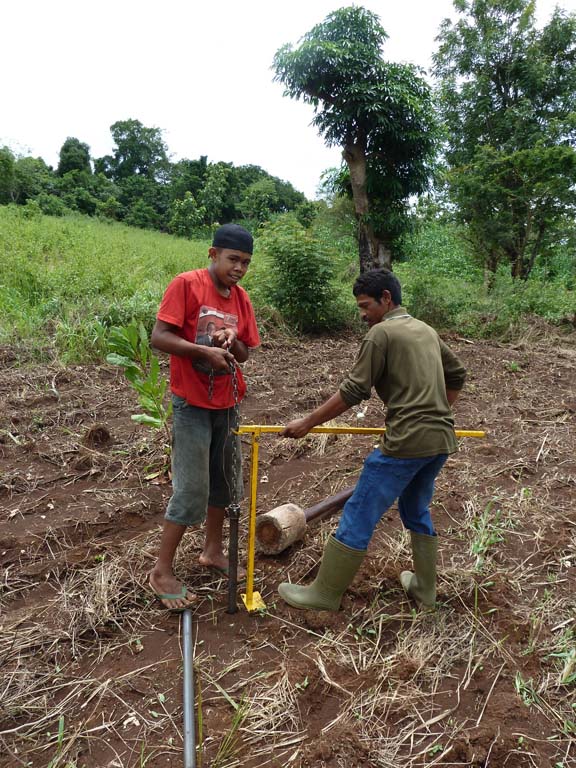
Figure 2. Extracting the soil core tube using a hand jack
2. What can go wrong when soil sampling?
Finding reliable labs – getting reliable chemical analysis is a challenge!
You need to be confident that the numbers you are getting back from your lab are reasonably accurate. This can be tricky when you have no idea of the reputation or quality of a particular lab.
Some countries undertake ring tests where laboratories from around the country compare their analytical results against standard test soils. Even if a lab looks OK and is saying all the right things, it is a good idea, particularly when first staring out in a new country or region, to compare local results with those from the same samples submitted to a lab in which you have confidence.
It is common to send the same samples back to Australia for testing. This requires Australian quarantine approval and the samples either being irradiated prior to release from quarantine, or the need to use an approved quarantine lab for testing, after which they are destroyed. Take care, irradiation can affect results, some nutrients are affected and others are not.
Don’t assume people will understand what you’ve written in your translated protocol
Always work through experimental protocols with collaborators, don’t assume anything. Remember that translations to other languages may not be exactly the same as what was originally written or intended.
For example, in one instance soil being dried for chemical analysis was to be “air dried in shade”. That was what happened, except it rained. The protocol had to be changed to “air dry under shelter”
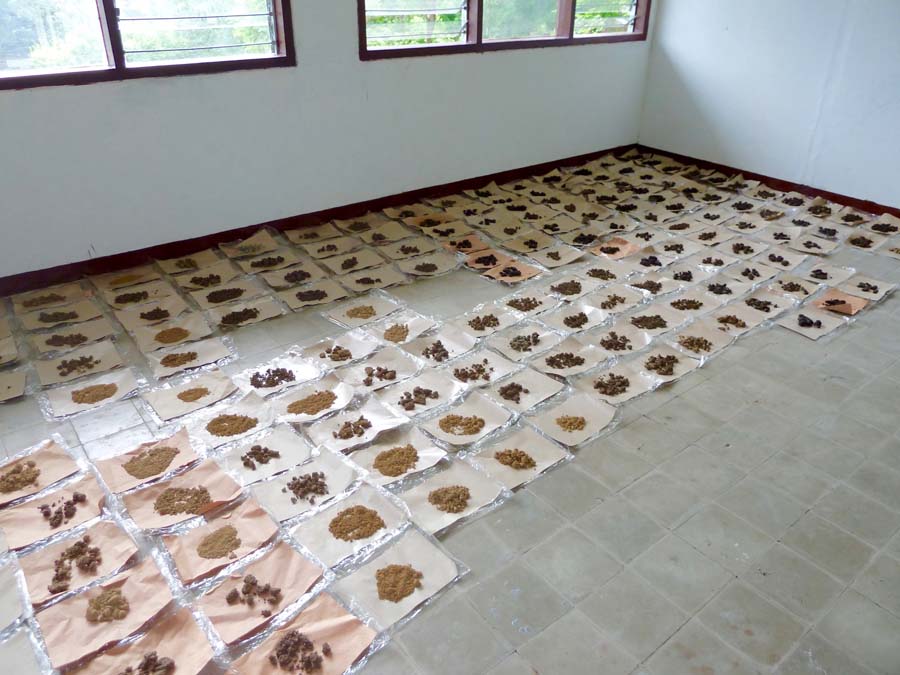
Figure 3. What “air drying in shade” soils looks like
Soil depth increments
Think about what depth increments you want to collect. If you’re working with soils with horizons or different layers don’t assume you can use your standard layers (commonly 0-15, 15-30, 30-60, 60-90, 90-120, 120-150, 150-180 cm). This is especially important in duplex or acid soils. In a duplex soil there’s no point in collecting an increment where the top half is clay and the bottom half is sand as the chemistry and the water holding will be very different.
Estimating rooting depth
Take a few soil cores to depth and then see where the roots are. If you can see roots in the core it is likely that the roots will be a bit deeper than that. To sample root depth for a fibrous root system collect cores 15-20 cm away from the base of the plant. For a tap root, collect the soil right next to the plant. A hand lens can help you identify roots. Remember that fresh plant roots tend be white and fresh looking, the ones from last year, yellow.
Estimating drained upper limit (DUL) and crop lower limit (CLL)
It’s difficult to know when your soil is drained when measuring drained upper limit (DUL). Take a few soil cores over a period of time to confirm when soil water equilibrium has been reached and before sampling.
Trickle irrigation equipment (which is what is commonly used in Australia) for the determination of drained upper limit (part of PAWC estimation) is difficult to source in developing countries. Instead the profile can be wet up by covering an area of fallowed soil with a thick layer of mulch (such as dead grass) and measuring soil water content after the end of the wet season when the soil has had time to drain. Take care that the site is some distance from trees (at least 15m), crops, weeds or any other plant (2-4m)
Crop lower limit (CLL) is best measured during the season when the crop is normally grown (commonly during the wet season in tropical countries). This requires the use of a rain exclusion tent to keep the water off the crop area-this can be a real challenge in tropical climates.
Getting the right equipment
The long-term solution is to build in-country capacity to fabricate the necessary soil sampling equipment. Bringing examples of the equipment from Australia and the running of training sessions will bear longer-term fruit.
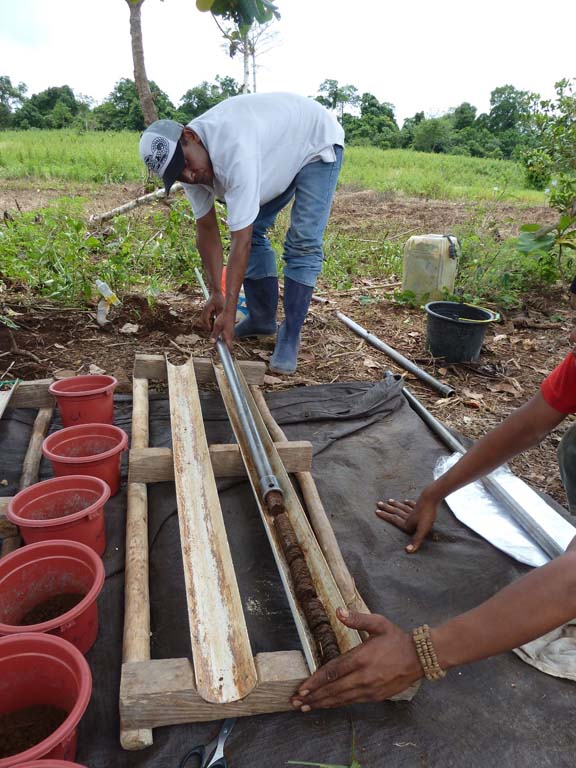
Figure 4. Once you have the soil corer (tube) all the other equipment is simple to make such as this construction of PVC pipe and wood to slide to soil cores on to.
3. What online resources are there?
Soil matters book on soil sampling
https://www.apsim.info/Portals/0/APSoil/SoilMatters/
Google earth APSoil overlay for soils in Australia, Indonesia, Bangladesh, Zimbabwe and South Africa
https://www.apsim.info/Products/APSoil.aspx
Estimating plant available water capacity (GRDC)
https://grdc.com.au/Resources/Publications/2013/05/Estimating-Plant-Available-Water-Capacity
Video of manual soil sampling
https://www.youtube.com/watch?v=qRWyKX-EbP4
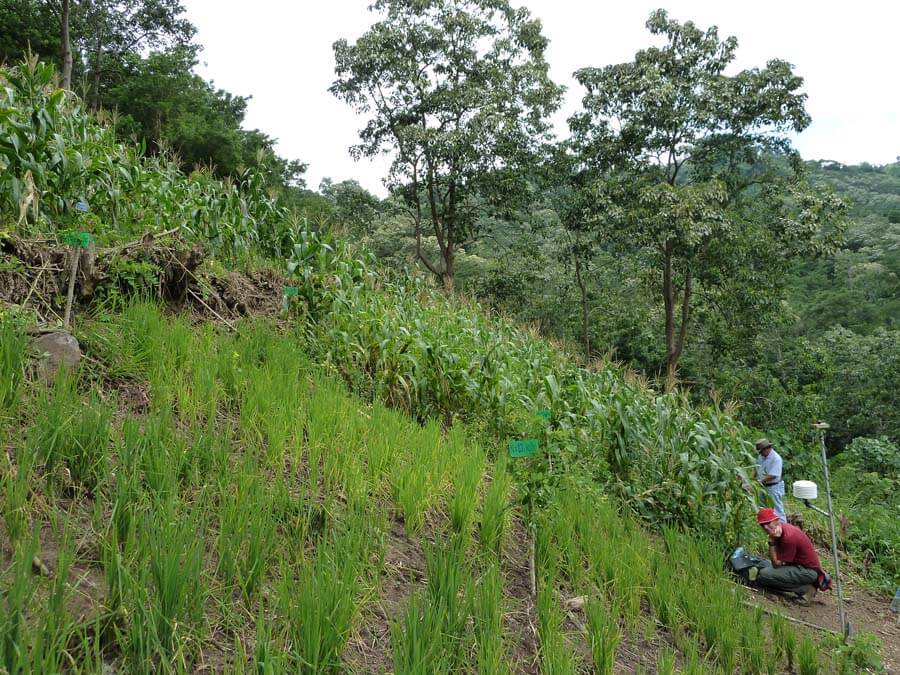
Figure 4. Neal working in Flores, Eastern Indonesia


